Candy Cane Chromatography Lab Worksheet
Free printable candy cane chromatography lab for middle and high school.
This free candy cane chromatography lab worksheet turns a holiday treat into real chemistry. Students use coffee filters and salt water to find out whether the red and green stripes on a candy cane are made from one dye or a mixture, then calculate Rf values and identify the dyes by comparing them with food colouring. Everything needed is in a kitchen or a basic science room.
What is in this candy cane chromatography lab
- Page 1 – Background and setup. A short explanation of mobile and stationary phases and Rf, a prediction, a materials list and safety notes.
- Page 2 – Procedure. Ten numbered steps with three diagrams drawn to scale: preparing the strip, running it in a cup, and measuring the spot and solvent front.
- Page 3 – Results. A data table for every spot, a box to tape the dried strips and a worked Rf example.
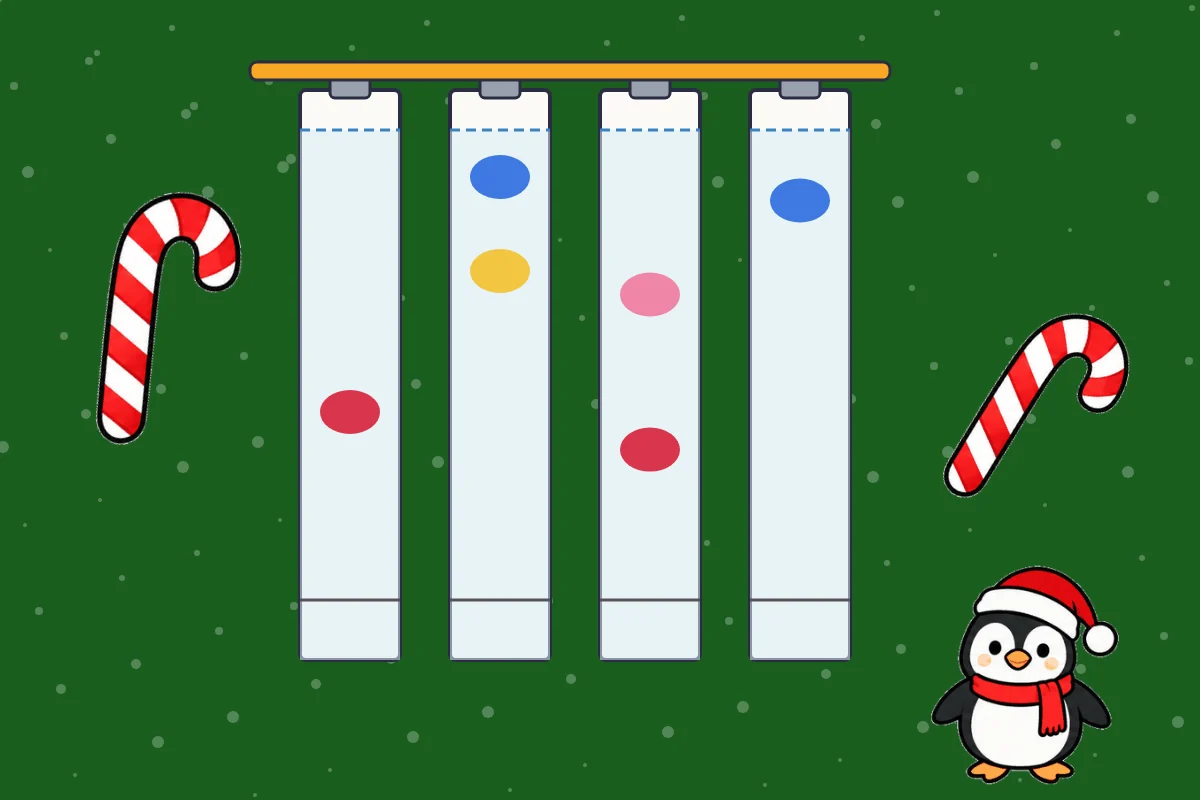
- Page 4 – Analysis. A sample chromatogram drawn to scale with a ruler, so students measure real distances, plus nine questions on Rf, mixtures and lab technique.
- Page 5 – Teacher key. Answers, timing, what to expect and troubleshooting tips.
How the candy cane chromatography lab works
- Students dot candy cane colour onto a pencil line near the bottom of a coffee filter strip.
- The strip hangs in a cup with a little salt water below the line.
- As the water climbs the paper, it carries the dyes with it. Each dye travels a different distance, so a mixture splits into separate spots.
- Students measure each spot and the solvent front, calculate Rf, and match the spots to known food colouring.
What results to expect
Results depend on the brand, which is part of what makes the lab a real investigation. Red stripes often give a single red spot, showing one dye, while green stripes are commonly a mixture that separates into blue and yellow. If a red stripe splits into pink and red, it contains two dyes. Small, dark dots built up slowly give the sharpest spots, and every strip must run in the same salt water so the Rf values can be compared. The whole candy cane chromatography lab takes about 45 minutes and suits middle school and high school chemistry in the last week before the winter break.
Frequently asked questions
What grade is this chromatography lab for?
Grades 6 to 12. Middle school students can focus on separating mixtures; high school students should calculate and compare Rf values and answer the analysis questions in full.
Can I do this lab at home?
Yes. It uses coffee filters, cups, salt, water, food colouring and candy canes. An adult should supervise, and nothing used in the lab should be eaten.
Can I use this lab in my classroom?
Yes. Print as many copies as you need for your own students. Please link to this page rather than uploading the file elsewhere.
Download the candy cane chromatography lab worksheet above, or practise reading chromatograms with the activity below. For more holiday activities, visit the Christmas worksheets page.
Run a chromatogram and calculate Rf
Press Run to watch the solvent climb the paper and separate the dyes. When it stops, use the ruler to read the distances, then choose the correct Rf for the spot named. There are 6 strips. Watch out: one wrong answer is the fraction upside down, and another measures from the wrong end.